For our 2016 BSides Cape Town information security conference I made an 8bit NES game as a challenge - inspired by the amazing challenge @s4gi_ put together for ZaCon 2015 (featuring Leisure Suit Larry of old "quest game" infamy) and the incredible def con challenges 1o57 comes up with (though a little more specifically his "how to build a processor in 10 minutes or less" talk I got to attend at this year's def con). I wanted to do something game related and retro - not just something in "retro style", something actually retro - and I decided on the Nintendo NES.
Needless to say I learnt a LOT in the process, and have a lot more respect for the game developers of 80's for the quirkly, limited, hardware they were coding for. There are some great tutorials and videos about the NES hardware that I found on this journey that I'll hopefully blog about soon.
The .nes ROM can be downloaded here and the source code is available on GitHub.
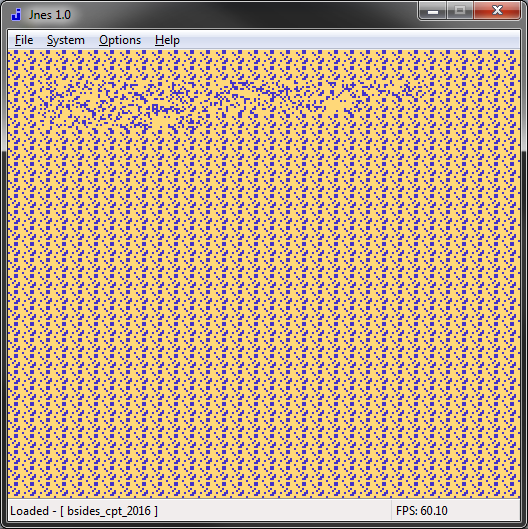
My initial goal was just to have a .nes rom that could be opened in an emulator and would show some text on the screen directing the player to another clue. I found a few frameworks, libraries, or tools which suggested this would be easy to do, but most often ended up with a screen full of garbage rather than a nice empty background and my text:
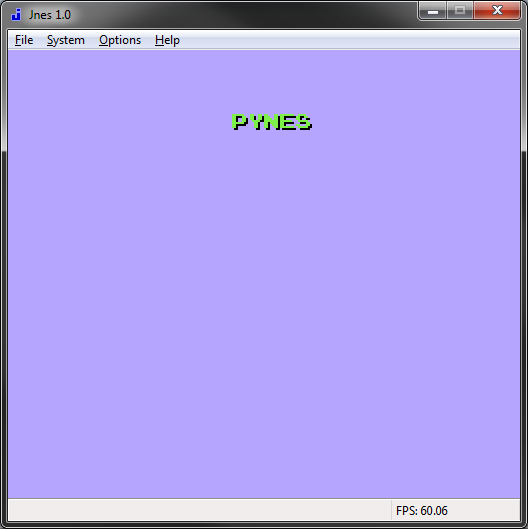
I had a bit more luck with PyNES, but felt too limited and ran in to some issues so ended up abandoning it:
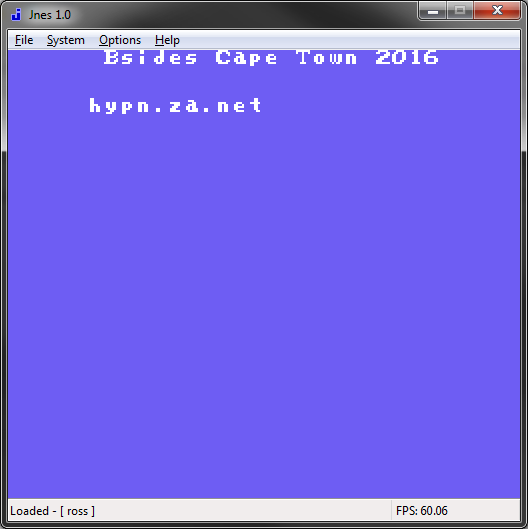
 After lots of fighting, I found the excellent https://nesdoug.com - "How to Program an NES game in C" (using the cc65 compiler) blog series, made a docker container for compiling in macOS/*nix (the installation of cc56 is easy and straight forward enough on Windows and Doug's .bat files just work), and finished my challenge:
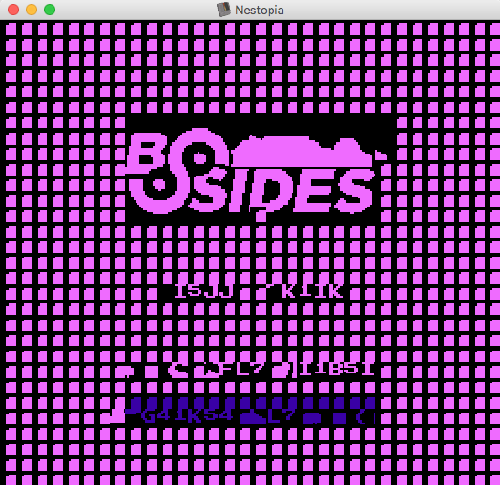
 As I worked through more of the blog posts (and free source code - specifically "spacy4") I got a little more creative and copied his start screen... and produced this monstrosity:
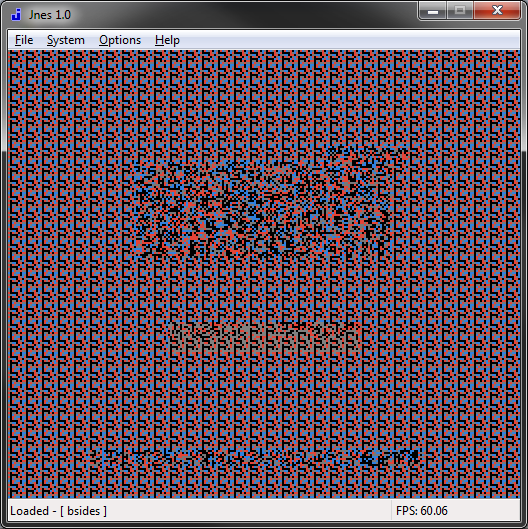 Note, once again, the tiled-corruption that is the background. It turns out that this is just the first sprite (at offset 0x00) in the character/sprite pallet being repeated... the same problem I'd had so many times before... so your life's a lot easier if you use the right character pallet, the right "bank" within that pallet, and have the first sprite an empty block. Makes a lot of sense in hind sight.
I used the "NES Screen Tool" by Shiru (aka NesST) for importing the BSides Cape Town logo and replacing the logo on the title screen of "spacy4" (and changing the "press start" colours) - not quite as easy as it sounds, I repeatedly saved the "nametable" (screen/background) as just a ".h" header file (which is what the compiler uses, but can't be re-opened if you want to make more changes), the right thing to do is save both ".nam" (source) and ".h" files. Also, using Dougs code, I had to save the ".h" files a "RLE packed" files)
I spent a while re-drawing the pixels on the BSides logo and trying to get the colours to show up properly (this is slightly confusing because the NesST tool shows you your sprites with default pallets.. until you configure and export your pallet colours (and re-import every time you're working on the nametable file).
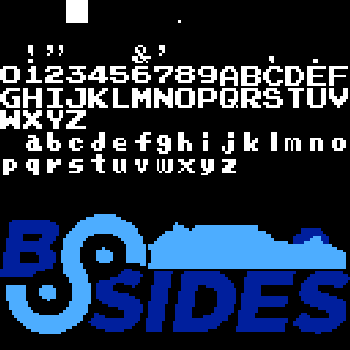 It took a little practice to get things right (and in the right "bank") :
 But eventually I got there and was fairly happy with the result:
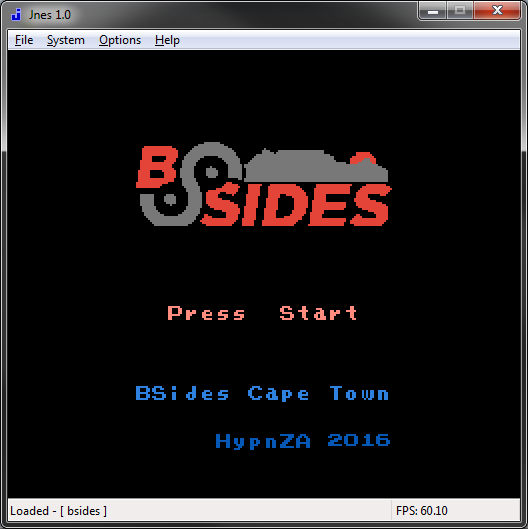 And this is where things started to fall apart. I had a title screen that was going to look better than the actual challenge screen, I was hacking apart this space shooter game that already had loads of code I didn't understand and likely wouldn't be relevant, and as I started getting more ideas for my challenge I realised I needed to start over.
I wanted to have a character the player could control, and a screen (computer terminal) they'd have to interact with in order to get the answer to the challenge, and found some great free sprites: http://opengameart.org/content/top-sci-fi-cga-tileset - thanks @jeromBD!
One of my first, and favourite, hacks ever was cheating NES games using a Game Genie - which I spoke about my 2012 ZaCon and BSides Cape Town talks: https://vimeo.com/52804942 (at 1:50) - so I was hoping to include that as a challenge mechanic some how, but I still had a long way to go.
I decided to use nesdoug's "lesson 9" code as the base for my game, as this showed how to change between different backgrounds, so seemed to suit my needs well enough. His "lesson 6" and "lesson 8" shows how to work with sprites and movement (I ended up not having enemy-sprites, but had wanted to). After a lot of redesigning, and copying sprite graphics in to my pallet bank, I ended up with the main level of the game:
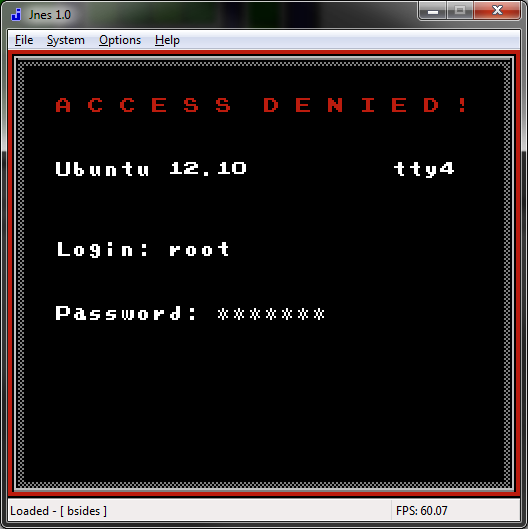
 The flashing red terminals were for the user to interact with. I used the same colour pallet rotation that Doug had used for the "Press Start" of the title screen, just alternating between black and red colours. I have 3 screens the user could see, not bound to any specific terminal in the game, but always shown in order (and binding themselves to a terminal once a user had used it) - the 3rd screen being the "clue/answer" screen.
The first screen was loosely based off of the Ubuntu login screen - wanted to keep things slightly relevant/realistic ;)
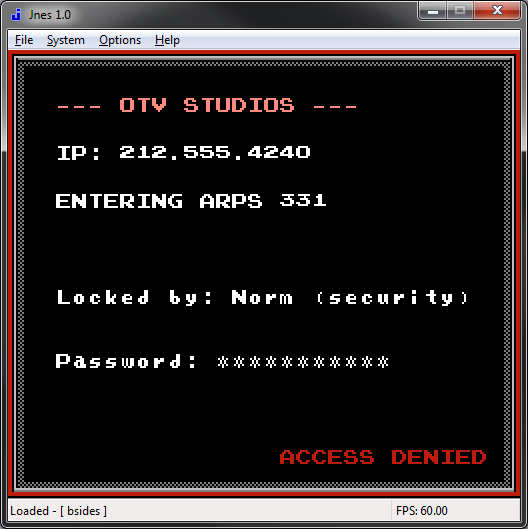
While I wanted to pay tribute to the Hackers movie - see https://www.youtube.com/watch?v=IiX09kiodfs - with the next screen ;) Sorry haters
 At this point I started having to write some of my own code. I found out quickly that the cc56 doesn't like functions that take, or return, values - instead everything seems to be a global variable - so that took some getting used to. I needed to do some kind of bounds-checking to know when the user was at a flashing-red computer, before showing them one of the screens, which was made WAY easier by using FCEUX (a NES emulator/debugger) which enabled me to see the player's exact X and Y co-ordinates (by finding the values in memory as they changed). From there it was just a matter of "if" blocks of code, with in the "user pressed a button" code, to see if they were standing in front of a computer at the time. I just had a global variable for each terminal, which got set to the number of screen they had used, so if they were used again they'd always show the same thing. [see "useComputer()"]
It also took me a while before I had collision detection, something I didn't think I had the time or energy to put in (so the player could just walk through/over everything which wasn't great). Not having any prior game development experience or knowledge I wasn't really sure how to handle this. I wrestled with how I was going to keep track of, or mark, each block (wall) the user can't move over in my code and eventually opted for tackling each room and "island" (wall sticking out) as their own area. Once again using FCEUX to get exact co-ordinates of the room walls.
It seems the common (best?) practice is to "allow the move" and then check if the new position is valid, and if not to undo it, when doing collision detection. I already had a variable containing the direction the user was moving (up/down/left/right), and the user moves at a fixed speed, so that seemed easy enough to do. I added some "if/else" blocks to the movement logic code, blocking off the rooms (reversing the move logic if necessary) but quickly found this to be quite buggy... a race condition could cause the code to think the user was moving "left", after having actually moved "right" (and collided with the wall) and would then slide the character all the way through the room (essentially colliding and "undo'ing" every time) - which looks like this: https://www.youtube.com/watch?v=f3-Dqc2SfKE. The infinitely easier option was just to have "oldX" and "oldY" variables, and set the user back to that on collision. Yay no more weird sliding-through-walls bugs.
I quickly found out that having a 32x32 pixel sprite, moving through a 32x32 passage between walls (especially around a corner), was not a great user experience - so I had to make the collision detection a little more forgiving, especially the "bottom" of the walls to cater for the bit of perspective the game has (ie: the top of the player sprite touching the bottom of the wall makes it feel very "top-down", so instead you can get closer "against" a wall before it stops you). The same was true with doorways :/
Doorways were just an "if" inside of the room-collision code (if you're colliding with the room's bock, but you're actually in the door way... do nothing (allowing them to move), else move the user back to oldX and oldY), and the same with actually being in the room. Suddenly it was feeling a bit more like a real game :D [see "moveSprite()"]
Now on to the Game Genie stuff:
 The Game Genie was a hardware device, like a cartridge, you would insert in to your NES with the game's cartridge plugged in to it. On startup it would ask you to enter codes, and these would modify aspects of the game allowing you to cheat (basically patching the data returned to the console). The codes actually translate in to memory addresses / offsets and values to be written there (and optionally the existing value to check for before applying). There's an online cheat code encoder/decoder and a great tutorial on making codes that explains a lot. As mentioned above, I really wanted to implement this in my game.
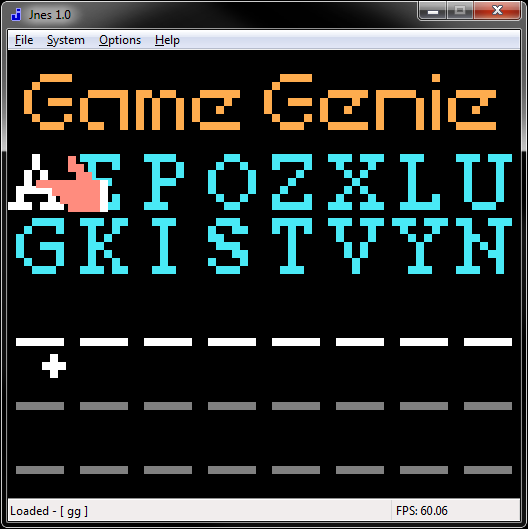
So instead of my 3rd terminal screen just giving up the solution to the challenge, I instead had it give a Game Genie code the user would have to enter to get the answer:
 I redrew the Game Genie "hand", and used the same alternating colours for the text, and obvious "GENIE" text as clues - and made sure that Googling for "nes genie" or "nintendo genie" would return obvious enough results. The actual code would be added in later, as every change I made in the code affected the offset that would need to be written to - luckily changes to the "nametable" (backgrounds/screens) didn't affect things, so I could calculate the code once the game was done and edit it in.
I tried a few ways of building a code in to my game - normally the codes change your lives you have in the game, or jump height... not something I really have. Eventually I settled on a "gameGenieCodes()" method that sets a "temp" variable to 0, then checks "if (temp == 9) { screenNum = 5; }" - which it never will be. Now my Game Genie could could just replace the "9" with a "0" and the condition would become true, revealing the user the final screen with the answer on. The compiler seemed to do some optimizations around "temp" being initialised to "0" vs "1", producing rather different files that I couldn't easily compare, which is why I went for the solution I have. I was able to compile the game and make a copy of the .nes rom, change the "9" to an "8" and compile it again, and hex compare the files to find the offset that my Game Genie could would need to write to (and then used the "encoder" mentioned above to generate the code). To get a code to work I had to add 0x4000 to the offset I got from the hex comparison, due to the rom size vs where the Game Genie expects code to start or something like that - it's all magic to me, and it took an e-mail to Doug to get it working (a huge thanks to him for this as well!) - and then subtract the bytes for the header as per the tutorial linked to above. [see "gameGenieCodes()"]
After entering the Game Genie code in the emulator and resetting, the user is given then answer code:
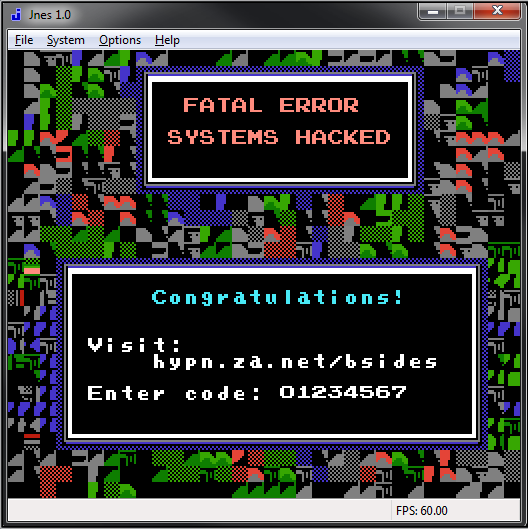
This time the screen corruption was intentional - and took more work than I'd have though, finding tiles that look "corrupt" enough to use, also the NES doesn't allow you to set colour values on every block of background, but instead every 2x2 tiles have to be the same colour (taking away from the randomness I wanted on this page) - which had me re-do several things a few times when it would render in the wrong colour :/ A bit more time with NesST made this more obvious and easier to work around (with the "Attributes Checker" option)
At the conference we had 100+ electronic badges given to speakers, organisers and the first 80 attendees who bought tickets, made by @elasticninja and @AndrewMohawk (link to their write up coming soon!), each badge had its own badge number and people completed challenges to unlock functionality on their badges. I had a formula for generating a code for each badge number, which was edit'ed in to the file when each badge-holder downloaded it - so no, the final code wasn't "01234567" ;) They'd then submit their unique code with their badge number to complete the challenge.
Of course at least one person attempted to use "strings" or a hex editor on the rom to find the code without playing the game. While in-game the letters and number were at offsets in the character palette that matched their ASCII table values (so you can hex edit the file and see all of the text shown on screen), I copied the 0-9 digits and put them in random free spots in my palette and referenced those for the code, so they come out looking like gibberish to "strings" and hex editors ;) Didn't think I was going to make it that easy did you?
Back when I should have been working on getting the game/challenge done, I got a bit distracted and decided my game REALLY needed to implement the Konami code as an easter egg. This was also an interesting learning exercise, trying to decide how to do it and how to "reset" the state of the code entry so they user could start over if they made a mistake. I ended up going with a "konamiCodeStep" variable that starts off set to "0" and a "konamiCode()" method that listens for button presses and does a whole lot of "if ((step == X) && (button = Y))" logic to determine if they user's performing the button press of the code (and if so increment the "step" value otherwise reset it to "0"), and once the final correct button is pressed show the easter egg screen (I chose to go with part of "The Hacker's Manifesto") : [see "konamiCode()"]
 My how far we've come, from barely being able to put 2 lines of text on the screen, to two screens full ;) Though this wasn't entirely easy, these are "nametable"s (backgrounds) not the output from some clever text printing function that supports word wrap. After having to redo the first screen a few times due to spacing, typos or word wrap issues (you have to literally click the letter you want in NesST, and then click where you want it... all the time...) I wrote a script to wordwrap the text for me and save to ".nam" file format so I could just import it.
I included two other Game Genie codes, I even got brave and used some colour palette swapping to animate the skulls (main skull drawn in 1 colour, open and closed jaws in two other colours, and I just made all the colours white except for the bit of skull I wanted to hide) : [see code]
 And another that does very bad things... the NES can only redraw so many tiles of screen at a time, you can't just render new backgrounds multiple times a second, but I tried anyway (which results in a lot of flickering in an emulator, and possibly fire on a real NES device) :
 This is 4 or 5 "nametables" (backgrounds) being swapped in. It was an animated GIF I split in to separate frames, and imported each one at a time, then redrew them with solid blocks (rather than all the different bits of sprites NesST found and made for me) which took some work but came out fairly well.
Finally, pressing the "A" or "B" button on the title, konami code, or answer screen brings up the credits screen:
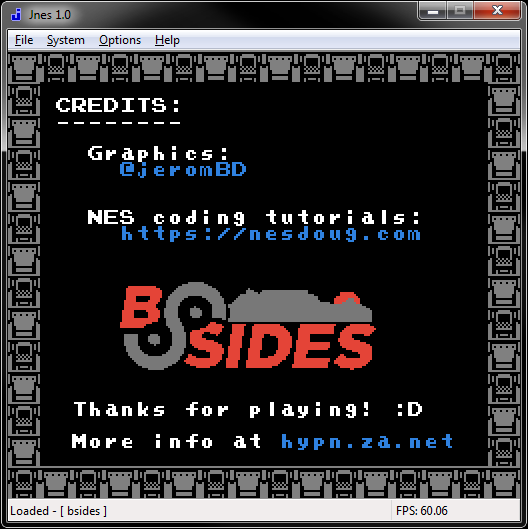 The tutorials and free code on http://www.nesdoug.com and Doug's help via e-mail are what made this challenge what it is, rather than the second screen shot above. There's so much more I wanted to do with it (such as have enemies in the rooms behind closed doors you have to open by using terminals) but just didn't have time. The whole BSides Cape Town team were awesome and the badges were amazing. I hope everyone had fun with this challenge, I'm still tempted to continue working on it ;) I didn't cover nearly as a much "coding a NES game" I wanted to in this blog post so that might have to be a separate one.